Last Updated on December 4, 2025 by foxintheforest
Look, my life is not a Pinterest spread. Sure, I’m handy, but when it comes to being “cutesy” I truly suck. Despite this lack in womanly arts, these DIY travel trailer, RV and campervan accessories are super simple to make and do a lot to bring comfort to your travel trailer experience. Get into #vanlife this camping season with these DIY travel trailer upgrades suitable for any van, camper or RV.
Upgrade Your Hardware
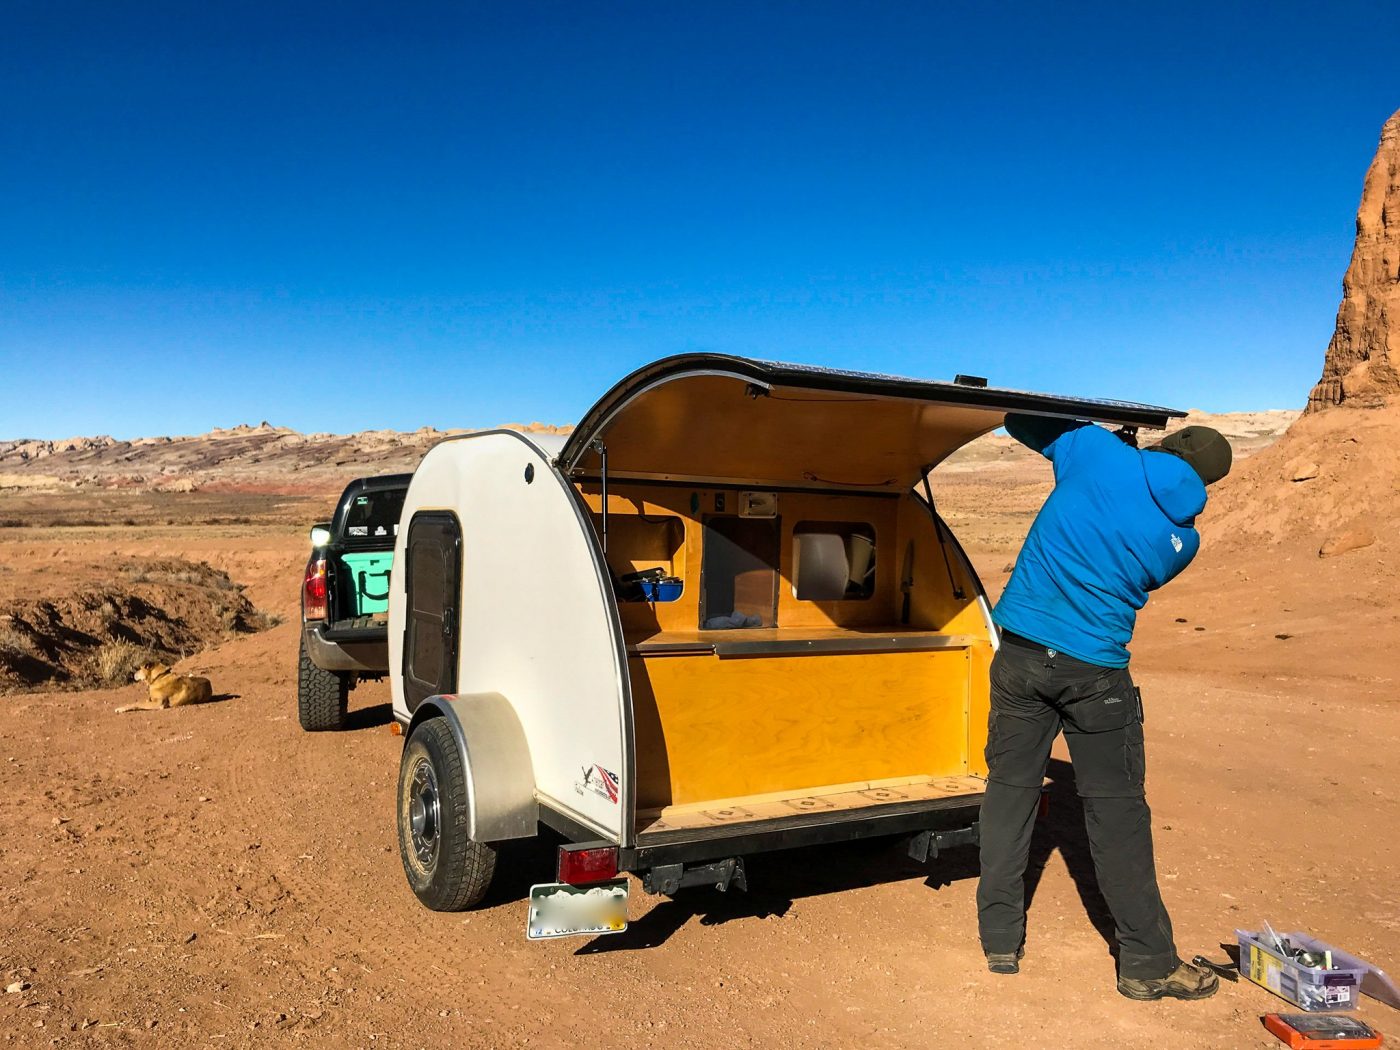
One of the most important campervan accessories is your door and locking hardware. Sure, it isn’t the sexiest thing on the planet, but any RV or travel trailer owner knows, that having a tight ship works wonders down the dirt. If you’ve got a travel trailer or RV, make sure your hardware is thru-bolted, meaning the bolts go through the interior and exterior of whatever you are locking. Most of the hardware that comes standard with a camper is simply screwed and if there’s one thing screws know how to do – it’s back themselves out.
This is a simple swap job – take in the screws and purchase a bolt of the same size. pick up a neoprene washer, silicone lined nut, and some LockTite. These specialty washers and nuts are built to withstand vibration. Now, using the original hole where the screw sat, simply drill a new hole totally through your rig. Attach the bolt with the washer and nut. Be sure to put some LockTite in the hole first. Voila! Now you have heavy-duty door hardware that won’t come undone down a barrage of washboard.
Caulk Away
Caulking is another way to weather seal any vehicle. Again, not the sexiest job, but it’s extremely important for preventing unwanted cold (or hot) air leaks, water penetration and more. Examine the caulking throughout your campervan, travel trailer or RV. If you notice splits, cracks or (gasps) no caulking at all, it’s time to take action.
First, remove old caulking using a knife. It should pull out with relative ease. Next, clean the area with isopropyl alcohol. Then replace the old caulking with new caulking. We’ve tried a wide variety of caulking on our teardrop camper, but we found that the silicone stuff works best. No need to buy RV-specific caulking. Create a bead and then run your hand down the bead (wear gloves that you don’t care about ruining) to create a slight depression in the caulking. Now your rig is dust, wind, and rain free!
Create Simple Curtains
Everyone needs a little privacy. Create simple curtains for your camper windows. It doesn’t need to be anything fancy. Measure how much fabric you will need (remember to double it, so the fabric pattern is on both sides). Using either a sewing machine or seam tape you can quickly create squares. If you’re using seam tape (no sew curtains), you’ll need an iron to really flatten the ends of the fabric inwards and apply proper heat to the seam tape.
Don’t sew the bottom end of the curtains, leave a little space to insert a weight. To keep the curtains weighted, use an old climbing rope or a few wooden dowels in a pocket at the bottom of the curtains. Next, screw them up using screws and washers. We added some velcro at the bottom and placed a strip over the screws as well as halfway up the curtain. That way we can roll them up if they get in the way.
Keep Dust Out
When you rattle down dusty desert roads, it’s easy for the camper to become a duster’s nightmare. When you sleep in the dust it’ll irritate your nose and throat, plus be a nuisance. Keep things dust free by covering up any vents or windows as you drive. You can quickly create little covers using velcro and fabric, or opt to buy vent pillows that will do the job for you. The insulated window covers lower in this post are also handy at keeping dust at bay.
Get your base camp in tip-top shape with these handy posts:
- Incredible car camping gear you can’t live without
- What to look for when buying a teardrop camper
- 22 tips to master desert camping
- The Boondocker’s Guide to the Galaxy: How to find free camping anywhere
- The Budget-Friendly Road Trip Guide
Install a Gear Rack
No campervan is complete without a gear rack. This handy campervan accessory is super simple if you have a van with a tow hitch. Simply purchase one of these bad boys and install it in the tow hitch. If you haul your rig, then use the tongue of the trailer (front part) to install the rack. Place the rack across the tongue of the trailer and bolt it down through the frame. You’ll need a drill bit capable of handling the metal and perhaps a Sawzall with a metal cutting blade if you need to cut off part of the steel tubing that would go into the tow hitch.
Create Insulated Window Covers
This simple DIY campervan accessory keeps you snug as a bug during the chilly winter months. Alternatively, you can install your own RV air conditioner for the summer. First, you’ll need to pick up a roll of reflective bubble insulation and some velcro. Next, measure the window opening and cut a piece of insulation to size. Add an extra inch to inch and a half on all sides. Next, cut another piece, but this time without the extra inch.
Place the sticky velcro tape (hooks or hoops doesn’t matter) on the outside edge of the large piece. Center the smaller piece inside the larger one and glue it together using Gorilla Glue. Finally, install the matching side of velcro along the edge of the window. Now you’ve got removable covers that will give you a boost of insulation and keep dust out as you wind down the road.

Bonus: Get LED Bulbs
This energy saver goes miles for preserving your battery life. LEDs burn forever and don’t have a huge power draw. Just be sure that the wire gauge you have is suitable for LEDs (most are, but check with a pro if you aren’t sure). Replace those pesky camper bulbs with the more energy efficient LEDs and you’ll have loads more power for longer trips.
Travel trailer, RV and campervan accessories don’t have to break the bank. These simple DIY upgrades go a long way towards helping you handle any adventure that life throws your way. Keep these in mind before your next big road-worthy adventure!
Catch me on YouTube!
Want more secret backpacking trips? Ultralight hacks that every hiker can adapt? Experience the top outdoor destinations in the world without the crowds? If you want to get insider knowledge of all things outdoors, then you’ll wanna subscribe to my YouTube channel, where I am giving away my DECADES of knowledge as an outdoor professional. I’ll see ya there!