Last Updated on December 4, 2025 by foxintheforest
A lot of people fan-girl over hiking poles, and I’ve gotta admit, I’m one of them. Hiking poles, also called trekking poles, are an essential item for those who like to hike on hilly terrain or have chronic knee pain. Basically, the best trekking poles are able to reduce the impact on your knees by a whopping 30% or more. So hike longer this season with this guide about how to use hiking or trekking poles.
In this article we will dive into:
- Do you need trekking poles?
- What type of hiking or trekking pole do you need?
- How to use your hiking poles
- Choosing the perfect pole
- The best hiking poles out there
What Are Trekking Poles Used For?
Most hikers use trekking poles to help reduce stress and wear on their knees. However, they are far more useful than just walking sticks. For example, expert, ultra-lightweight backpackers can use hiking poles to erect shelters.
If you travel over rocky terrain, a hiking pole can help you stabilize yourself without bending over. In the winter, hiking poles become an essential piece of gear to snowshoe with ease. You can even use your hiking poles for backcountry ski touring.
However, the primary point of hiking poles is to assist hikers with steep uphill and downhill terrain. Poles make hiking easier and using hiking poles certainly helps you tackle tougher terrain with more ease.

New to hiking? Start here:
- The Ultimate Guide to Hiking for Amazing Newbs and First-Timers
- Kick-Ass Hiking Clothes for Any Budget that You Won’t Regret Buying
- Your Guide to the Best Hiking Gear: What You Really Need to Hike
Do I Need Hiking Poles?
To be honest with you, not everyone needs hiking poles. In fact, if you’re new to hiking, you should try and tackle a few trails before you commit to spending your hard-earned cash. However, you should use hiking poles if…
- You hike in hilly areas. Trust me, your knees will thank you!
- If you hike with a heavy pack, such as backpacking or using a kid carrier.
- If you have knee problems. The struggle is real, trust me I know.
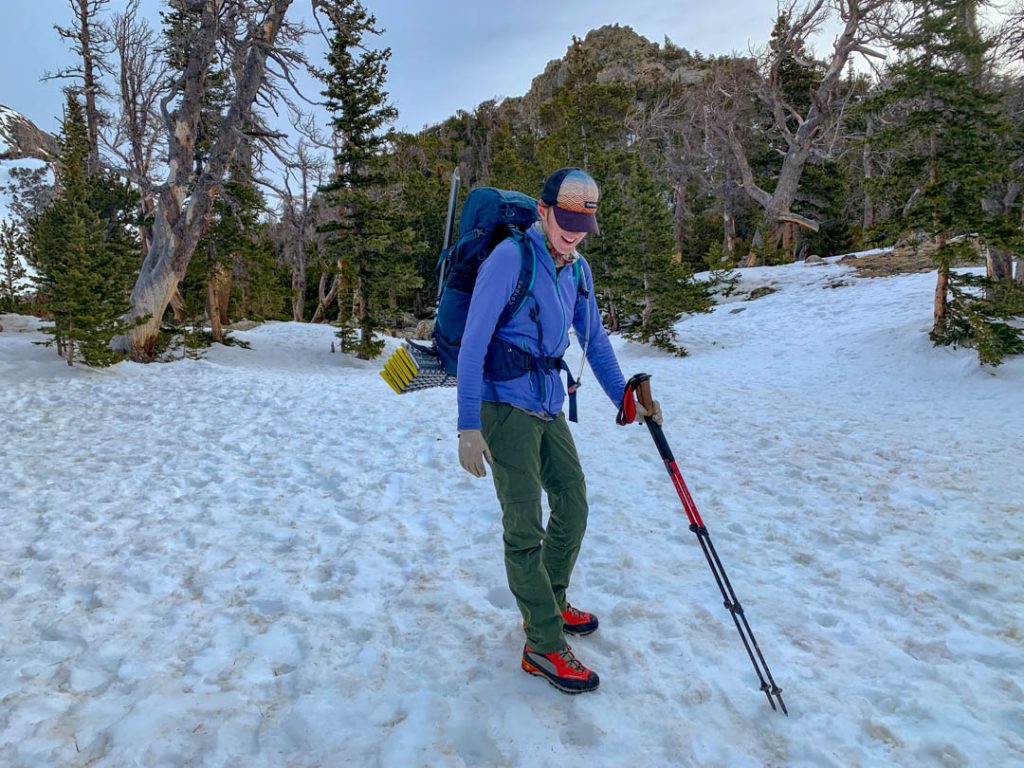
- You hike or snowshoe in the snow.
- You are hiking long distances for multiple days. Using trekking poles are a total energy saver!
A Hiking Pole Vs. Trekking Poles Vs. a Staff, Which is Right for Me?
For such a simple item, there are a lot of different terms flying around the hiking world. First, let’s start with the basics: hiking poles and trekking poles are the same things. The words are interchangeable.
A staff is just one hiking or trekking pole. So you could own a pair of trekking poles, but when you only hike with one pole, you’re actually using a staff. Alternatively, you can buy a single staff instead of a pair.
I always recommend purchasing a pair of trekking poles. Why? If you primarily hike with a staff, you’ll have a backup should one break or get lost. Secondly, if you backpack or carry heavy loads, you’ll definitely want two poles for better stability.
A hiking or trekking staff is a great idea for those who are used to walking with a cane (many staffs have a T-shaped top grip). Alternatively, if you’re short on cash, but you need something to stabilize your knees, a hiking staff is better than nothing.
However, keep in mind that hiking staffs are not half the price of trekking poles. Usually, you’ll get a better deal buying a pair of trekking poles than a staff.
How to Use Hiking Poles
Before you even hit the trail you want to make sure your poles are sized correctly. Ideally, you want
The biggest secret to how to use hiking poles is to time your steps. You want to have the opposite hand out in front of you from your front foot. For example, your right pole should be hitting the ground as your left foot is out in front and visa-versa.
Occasionally, on steep terrain, it will help to put both poles out in front first, then take two steps. Make sure to plant your poles firmly, and give a little test pressure to make sure the tips don’t slide around on rocks.
Your poles should help propel you forward. Make sure you’re engaging your arms and the poles are actually working for you not against you. However, don’t focus super-hard on using the poles, keep your movements natural and engage the poles when it feels like it will give you a boost.

Sizing Your Trekking Poles
Trekking poles and hiking staffs both come in standard, universal sizes, with the ability to expand or shrink as needed. When on flat ground, you want the poles to be high enough that your wrists are straight and your elbow is bent at roughly a 90-degree angle. Take note on the setting the first time you size them.
When going up steep hills, you can adjust the poles to be shorter, to account for the steep terrain. Shorter poles on steep hills stop your wrists from getting too bent and fatigued. I like to dial mine back about 10 centimeters at a time, but do what feels comfortable for you.
Take the opposite approach when going downhill. When you use your trekking poles going downhill, you’ll want to extend your poles so they are longer. This helps keep your body upright and stops pressure from being put on your back and shoulders. Again, the amount you adjust is dependent on the hill grade, so play around with it until it feels comfortable.
Lastly, when you’re traversing a hillside, you still may want your poles for stability. Instead of putting one pole short and one pole long, simply slide your hand down your pole for a few key steps and make the pole shorter by grabbing it lower. This handy trick is helpful when you have a couple of steps that might be over awkward terrain.
To Use or Not to Use Your Wrist Straps?
If you ever want to spark debate amongst hiking gear nerds, ask them about hiking pole straps (insert roll-eye emoji here). There are two sides the argument and each makes sense.
On team pro-wrist strap, the straps can give you an extra boost of support, keeping your hand in place as you weight the pole. Great news if your hiking up defined terrain and you have sensitive wrists.
The other side avoids using the wrist straps because if you slip and fall, your pole can get wedged into a rock. When it comes to rocks and joints, the rock always wins and you can easily snap a wrist or dislocate a shoulder.
Typically, I don’t use the wrist straps, unless it’s winter. To me, using a wrist strap is mostly about personal preference.
How to Choose Hiking Poles
Okay, now for the juicy part, how do you choose the perfect pair of women’s trekking poles? When it comes to hiking gear, selecting the proper hiking or trekking pole is relatively simple. Let’s jump in!
Understanding Hiking Pole Features
When it comes to how to choose trekking poles, there are a few key features to check out. First, you want to think about how the pole puts itself together. Most poles are designed to somehow compact, and then be quickly re-assembled. The locking device is the singular most important part of a trekking pole. The rest is up to personal preference.
Snap Locks vs. Twist Locks
There are two main types of locking devices on trekking poles. These allow the pole to shrink, making it easier to carry or pack in your suitcase (no, you cannot carry on hiking poles in an airplane). These locking devices also enable you to expand or contract the pole for different terrain or body heights.
Snap locks are by far the most superior type of locking system. They are simple to use, all you need to do is extend or contract the pole, then slide the lever over until it clicks to lock it in place. They add a tiny bit of weight to the entire pole, but they are far more reliable. If they loosen, you can easily tighten the screw that holds them in place.
Twist locks are a great concept, but I have yet to see them executed correctly. They use friction to lock the pole in places through a twisting action. You’ll find a lot of the ultra-lightweight hiking poles advertised with these types of locking devices. However, buyer beware, they wear out quickly and you’ll likely find yourself wishing you had bought the snap locks while your poles randomly expand or collapse.
Z-Folded vs. Telescoping Poles
Another thing to consider when choosing trekking poles is the way in which they break down for storage. This is important for fitting poles into your pack or traveling with your poles.
Telescoping poles, often found with snap locks, tend not to pack as compactly (meaning they are longer when fully compacted) than Z-folding. Taking up extra room for the sake of having a more durable product is worth it for me. Even when I’m going fast and light in the alpine, I can store my telescoping poles in a jiffy and they rarely get in the way.
Z-folding trekking poles, such as the Black Diamond Alpine FLZ Trekking Poles, can pack down nice and tight. They use a wire that runs through the entire pole in order to fold up into a Z shape. With the push of a button, they collapse. However, a lot of Z-folding poles rely on that pesky twist-lock technology, even if it’s just at one point. The trade-off is you get a lighter, more compactable pole. These are ideal for light and fast alpine folks or people who need a pole suitable for travel.
Grip Types and Other Features
There are two types of pole grips: synthetic and cork. Synthetic grips are more budget-friendly, but they make you sweat quite a bit and can cause hand blisters – great, another place to worry about blisters! But they are an ideal choice in colder climates.
Cork grips are more sustainable and absorb sweat better. They are certainly my choice if you can afford to splurge just a bit. They feel better and are less clammy than their synthetic counterparts.
There are other features in hiking poles. Some of them are gimmicky, but some make total sense. Here’s a look at hiking pole features to keep an eye out for:
- Tip protectors. These are necessary but certainly handy. Essentially these rubber tips go over the carbon fiber tips of your trekking poles to protect them. They are a great trekking pole accessory if you use your poles on a lot of rocky or paved terrain.
- Snow baskets. These come standard with most trekking poles. Super handy in the winter (or if you backcountry ski), but definitely remove them in the summer months!
- Shock absorbers. These absorbers help lessen the blow on your legs and their spring technology helps you bounce forward just a touch. I think they are pretty gimmicky and make the poles heavier as well as more expensive. However, if you are plus-sized or you have terrible knees, the added support may be useful to you.
The Best Trekking Poles for Women (and Men)
Now that we are pretty much trekking pole experts, it’s time to dive into the best trekking poles for women. I’ve gone ahead and included the men’s version too. Keep in mind that hiking poles for women aren’t too different from a men’s pole. The colors change (cue another eye roll) and the grip may be slightly different, but overall there isn’t much of a difference.
Related: How to Score an Amazing Deal on Outdoor Gear
Black Diamond Ergo Cork Trekking Poles
I love my Black Diamond Ergo Corks and they are by far my favorite women’s hiking poles. So much so, that they have been my go-to trekking pole for the better part of four years now. I actually rock the men’s version, because a women’s pole was not available when I purchased these. These babies are the entire package: reliable snap locks with cork grips.
I’ve trekked with these everywhere from the vast open deserts to the Himalaya of Nepal. And I still haven’t had a single issue with them. The caron tips are still in great shape.
Pros: super comfortable, durable, reliable.
Cons: Pricey. Also, they are tall when fully compacted.
Men’s Version: Found here.
REI Co-op Traverse Power Lock Cork Trekking Poles
REI makes a pretty reliable trekking pole. John rocks the men’s version of these and I’ve used them countless times. You can take these poles apart a bit easier than the Black Diamond version. In my mind, they are essentially the same pole, except we’ve had some trouble with one of the locks on the REI Power Locks over time. However, it’s rarely an issue, and at $30 cheaper, it’s worth the cost savings.
Pros: Good price. Comfortable. Easy to swap parts.
Cons: Power Locks can wear out.
Men’s Version: Not found at the time of this post.
Leki Cressida Cor-Tec Trekking Poles
If you’re looking for a pole that packs shorter but doesn’t have that pesky Z-fold, the Leki Cressida Cor-Tec trekking poles are great. I’ve tested them out several times and enjoyed how easy they are to use and how cute they are once fully compacted. Leki also makes plenty of easy-to-use accessories. My only complaint is the rubber in the grip, but that’s pretty minor.
Pros: Stores small.
Cons: A little pricey.
Men’s Version: Legacy Lite Cor-Tec AS Trekking Poles
Your knees will be sure to thank you after snagging a pair of the best trekking poles. Backpackers and hikers alike can certainly benefit from a pair of trekking poles, so hike on my friends! And don’t forget to share where your hiking adventures take you!
Catch me on YouTube!
Want more secret backpacking trips? Ultralight hacks that every hiker can adapt? Experience the top outdoor destinations in the world without the crowds? If you want to get insider knowledge of all things outdoors, then you’ll wanna subscribe to my YouTube channel, where I am giving away my DECADES of knowledge as an outdoor professional. I’ll see ya there!