Last Updated on November 4, 2021 by foxintheforest
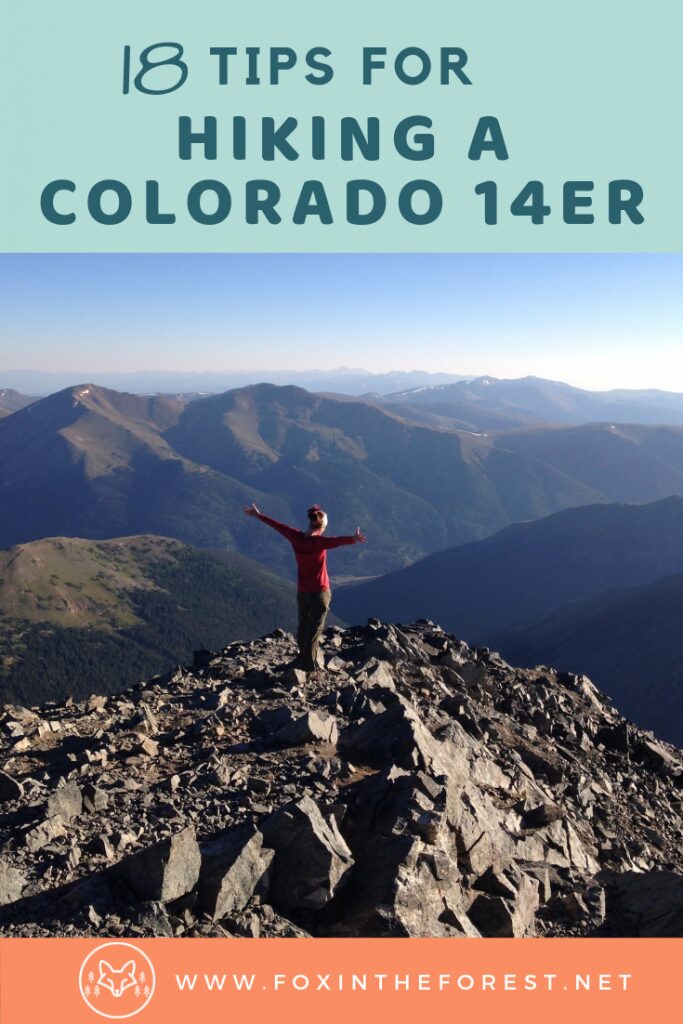
Hiking a 14er is one of those things people claim is quintessential Colorado. It’s no easy feat, even the “easier” mountains. However with a good attitude, good weather, and a little will power you’ll make it to the summit. Below is a mega-list of tips and tricks to hiking your first Colorado 14er.
About This Guide to Hiking a 14er
I’ve climbed and hiked well over 40 mountains and when it comes to Colorado’s iconic 14,000-foot peaks, I’ve learned a thing or two about what it takes to get to the top. In this guide we’ll cover:
- When is the best time of year to hike a 14er in Colorado?
- Steps to prepare for your first 14er hike
- Tips and tricks for your big summit day
- What to do if things don’t go to plan
- Additional planning resources for hiking in Colorado
Caution: Hiking a Colorado 14er is Dangerous Business
First, it is important to understand that climbing any mountain is risky business. People die every year on Colorado’s 14ers. It isn’t that these mountains shouldn’t be hiked, in fact, some of the best hikes in Colorado are hiking a 14er, but do be sure to be prepared and understand what you are getting into.
This isn’t an ordinary hike, but you aren’t climbing Mount Everest either. These tips for hiking a Colorado 14er are designed to get you prepared and organized for your big adventure.
When is the Best Time to Hike a Colorado 14er?
Colorado’s 14ers can be hiked and climbed year-round.
However, you shouldn’t attempt to hike in winter or during adverse conditions until you have plenty of experience not only in the mountains but also dealing with winter conditions such as avalanche terrain and long, snow-filled approaches.
Most trailheads to Colorado’s 14ers are inaccessible during the winter months, meaning that you’re hiking distance will be substantially increased and conditions. Trails can get snowed in as early as October and typically winter conditions will last until late July.
On the flip side, in summer, your biggest threat is the Colorado monsoon season. The period from June through August is riddled with fast-moving, dangerous thunderstorms that can easily kill hikers caught above treeline.
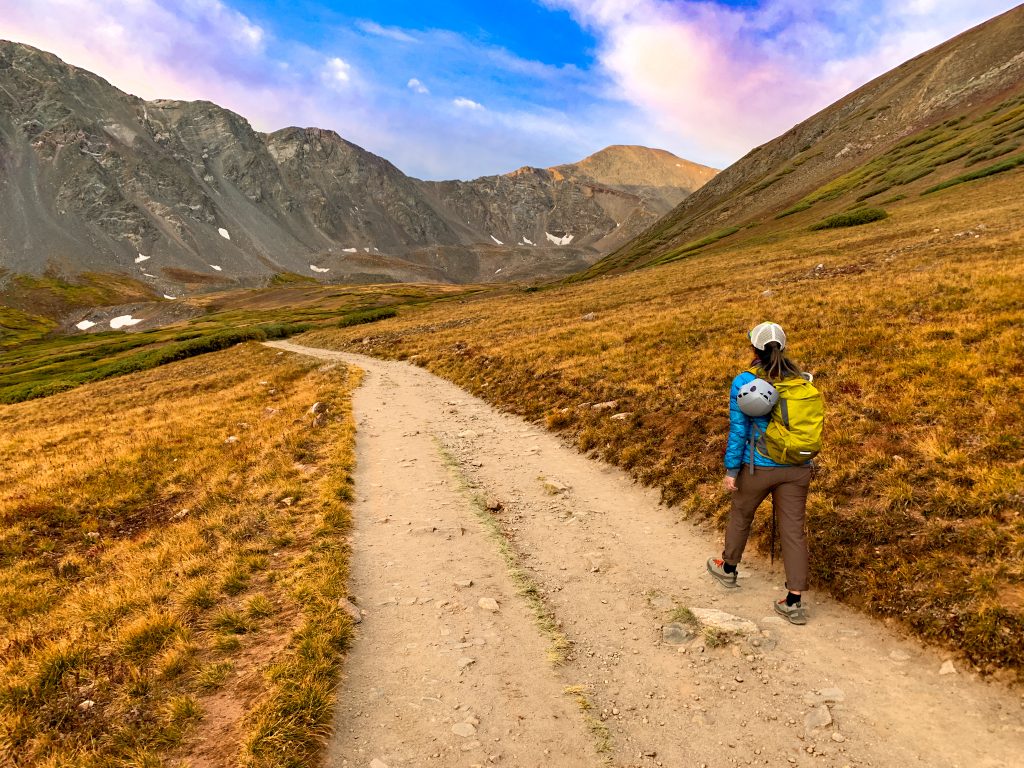
Therefore, the best time of year to hike a 14er is extremely early in the morning between the months of July through September. Late August and September usually have the driest weather, but July has the added bonus of high alpine greenery.
One of the best tips for your first 14er is to start early. I’m talking well before the sun rises. Always plan to be off of the summit and below treeline by noon
Steps to Prepare for a 14er Hike
Before you step foot on the trail, it’s important to do a little research first. You’ll want to pick a peak that’s realistic, then do your homework so you understand the route. Here’s a step-by-step guide to prepare for hiking a 14er.
Step One: Pick a Realistic Peak
If you’ve never climbed a mountain before, it is unsafe (and unrealistic) to think that you should march up Capitol Peak or Long’s Peak. Those mountains take a tremendous amount of effort and skill to climb. Sure, the photos look great, but those Colorado 14ers are not for beginners. Instead, pick a peak that is better suited for your ability.
Keep the altitude in mind when preparing for a 14er. Hiking 12 miles in the Colorado Rockies is not comparable to hiking 12 miles on the east coast. Your body works harder at altitude, so if it’s your first time hiking high, tone down the mileage to increase your chance at success.
Pick a Colorado 14er that is either a Class 1 or Class 2 mountain for your first Colorado 14er. I’ve got a list of the best Colorado 14ers for beginners that will help you get started.
(Pssst, I love Grays and Torreys Peak for your first jaunt).
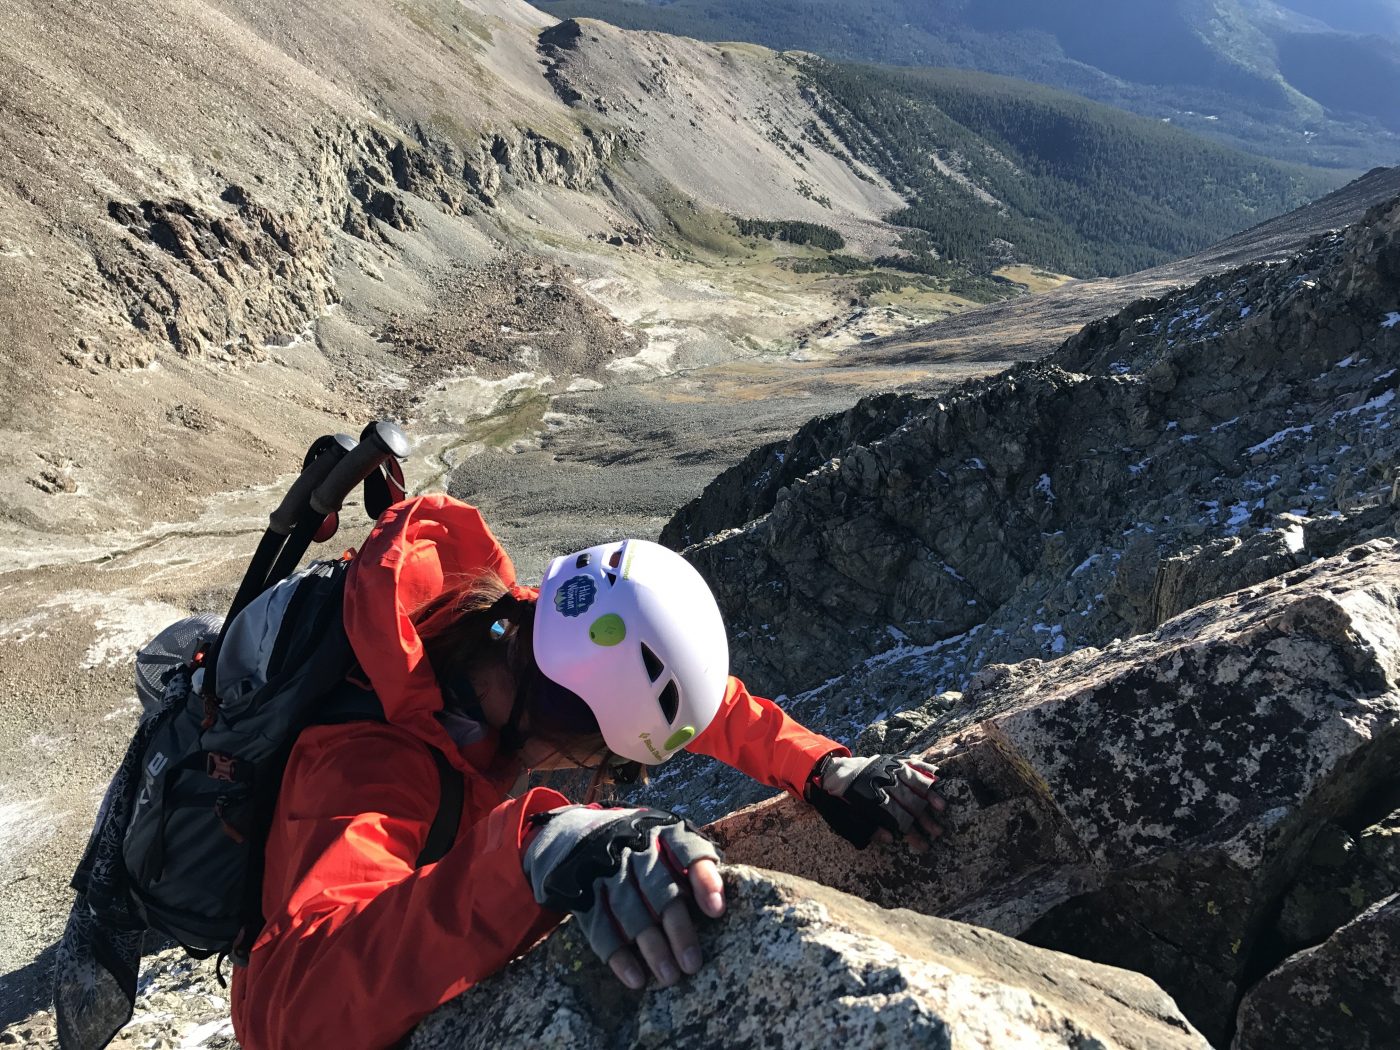
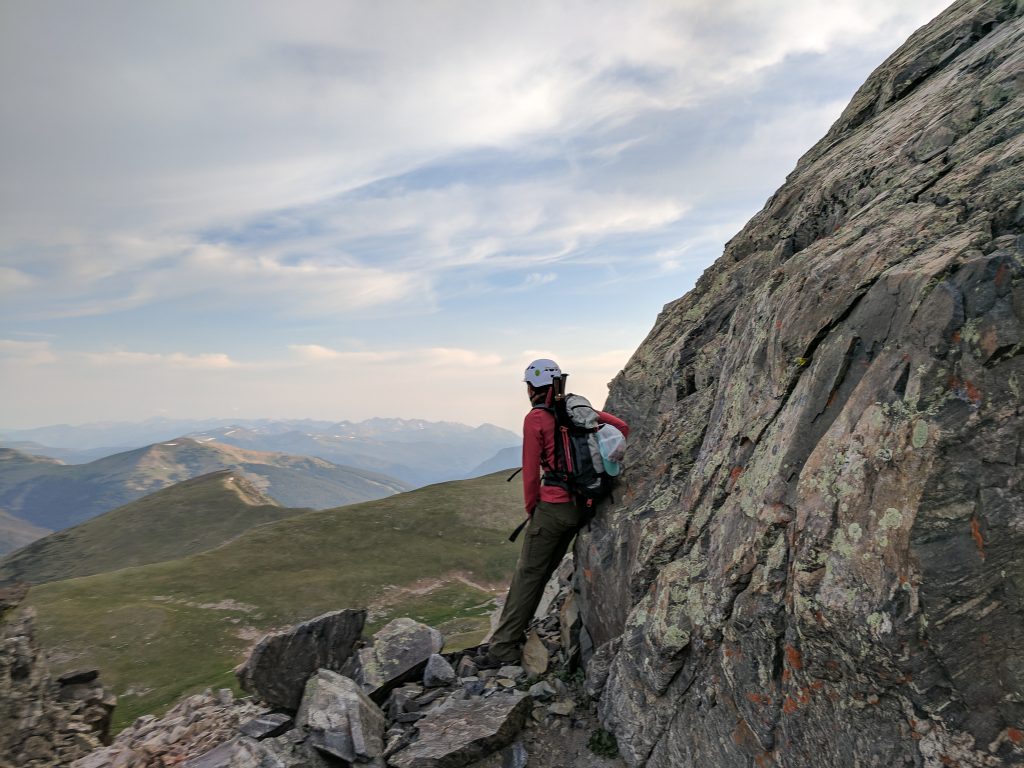
These peaks will give you a good feel for the effort it takes to hike a big peak, but don’t require any special gear or skills. Stay away from Class 3, 4 or 5 routes until you have some experience under your belt.
Step 2: Find 14er Route Information
Next, get to know your route. Beta, a climber term, refers to information about a particular climbing objective. Some routes on mountains are not clearly defined and you wouldn’t want to accidentally end up off the trail or on a tougher route.
Before I hike any 14er, I check out 14ers.com. 14ers.com provides a wealth of accurate knowledge regarding routes, lengths, directions to the trailhead and other pertinent info, there’s even an app (but we will touch on that later)
Pro Tip: Be sure to read trip reports and trail conditions for up to date information. You can find this by clicking “Conditions” on the top menu bar and then clicking on “condition reports.”
Pro Tip: Download Maps and Carry Apps
Before I head out on any mountain climb, I always try to get all the information I can. Hiking a Colorado 14er has the added bonus of having tons of resources at your fingertips. 14ers.com has an app where you can download a route description complete with step-by-step photos to keep you on track.
Remember to download your specific route to your phone before you hit the trail. Also, be sure to use a GPS app to map out your route and have it available for your big hike. Lastly, always carry a paper backup, since batteries die!
Step 3: Check the weather
The most important thing to know before hiking a Colorado 14er is the weather. It is extremely dangerous to be on any peak when there is a risk of storms. Think about it. Lightning strikes the highest point. When you are on a mountain there are no trees to protect you. You become the highest point in a field of rocks.
Therefore, you want to be below treeline well before a storm. During the summer months, storms roll in quickly and strike without warning. Know the weather before you go and check the National Weather Service. You can get pinpoint weather by entering the peak name in the search bar (be sure to double-check the map to make sure you’re in the correct location).
Next, examine the hourly weather charts on the right of the written weather descriptions. You can click on those and get up-to-date info on storm predictions, wind speeds, temperatures and more. If the storm threat is real, stay home.
Be sure to continue to check weather conditions up until the day you leave.
Pro Planning Tip
A good rule of thumb is to plan to be off of the summit before noon. Take note of which direction you are hiking, keeping in mind that weather patterns in Colorado tend to move from west to east. Sometimes clouds can be building beyond the summit and you can’t see them. I take this tip one step further and aim to be at treeline (where the trees start to grow again) by noon.
Step 4: Know Your Speed
Now that you know which Colorado 14er you want to hike and the weather looks good, how do you plan when to leave? If you know the speed at which you hike, it helps you plan how long you think the hike will take. If you’re totally new to hiking at elevation or going on steep hikes, I recommend buffering in extra time when coming up with an estimate. Here are two simple rules to calculate your hiking speed:
- Most hikers move at approximately two miles an hour
- The average hiker can gain 1,000 feet of elevation in an hour
- Don’t forget to account for breaks, especially if you’re new to hiking 14ers
Let’s take an example. Mt Bierstadt is a seven-mile hike with 2,850 feet of gain. If you look at a topographical map, you’ll see that the first mile and a half of the hike are relatively mellow, with little gain. That portion should take the average hiker around 45 minutes.
Then the next two miles are fairly steep, with plenty of switchbacks and grueling elevation gains. Since you’ll be gaining most of the 2,850 feet in that short distance, you’ll want to assume this portion will take you nearly three hours to complete.
Factor in a few extra breaks and time for some summit selfies and you’re looking at an estimated four and a half hours until you reach the summit. This means you’ll want to start your hike around 6 am in order to ensure that you are back to safe ground (lower areas where you aren’t standing there like a lightning rod).
Step 5: Set a Turn Around Time
Climbing and hiking any mountain isn’t always cut and dry. Things pop up, you get off-route, you take extra breaks, the altitude weighs you down, any number of things can happen. In order to ensure you stay safe and don’t get too carried away with summit dreams, set a turn around time before you even leave for the trailhead. Decide on a time by which if you do not make it to the top, you turn around, no matter what! Summits are deceiving, and often times you can look like you’re close, but be a far ways away. Always stick to your turn around time in the mountains so you don’t get caught in a storm or end up spending the night in the alpine unprepared.
How to Train for Your Colorado 14er
Next, train for your first Colorado 14er. Start a training program eight weeks before your big 14er hike. Carve out an hour, three times a week to get on a treadmill or Stairmaster with a weighted pack. You’ll also want to do plenty of squats and lunges so you’ll have strong hips and hammies for the descent.
For more on training for a big hike, see this five-step hiking training plan.
Packing for a Hiking a 14er
For my first 14er, I hiked Mt Bierstadt without gloves. That was utterly stupid. Temperatures at the summit were near freezing and the wind was blowing at 40+MPH. It was a miserable experience for my hands.
People aren’t normally thinking about cold weather things in the middle of July – I certainly wasn’t. Dress in layers (don’t wear cotton), wear appropriate footwear built to handle the terrain, bring sun protection, snacks, plenty of water, moleskin for blisters, and definitely pack a warm hat and gloves. Please pack out your trash to keep the place clean for those after you.
For a comprehensive packing list, see my post on what to pack for your mountain climb.
Tips for Hiking a 14er
Now that you know how to plan your first 14er hike and what to bring along, you’ll need a few handy hacks for your big summit day. These tips for your first 14er are aimed at helping you fight through the suffer-fest that is hiking and climbing a Colorado 14er.
1. Before Hiking a 14er, Give Your Body Time to Acclimatize
If you are visiting from out of state you want to make sure you properly acclimatize before hiking a Colorado 14er. Give yourself a day or two after arriving in Colorado to get used to the thin air. Go on a short training hike a day or two before climbing a 14er and drink plenty of water. Avoid alcohol and let your body adjust to the thin air. Going straight from Denver to above 14,000 feet is a lot to ask of your body, even if you live here. Expect to feel the effects of altitude and plan accordingly.
2. Get There Before the Sun Comes Up
Climbing and hiking mountains is all about the early wake-up calls. Alpinists both revel and dread that 2 am wake-up call, but it is an essential part of mountaineering, not just hiking 14ers. There are several important reasons to wake up early. The most important one is safety. Simply put, morning is a safer time to be in the mountains. The snow is more stable, storms haven’t rolled in yet, and it’s good practice to start before the sun.
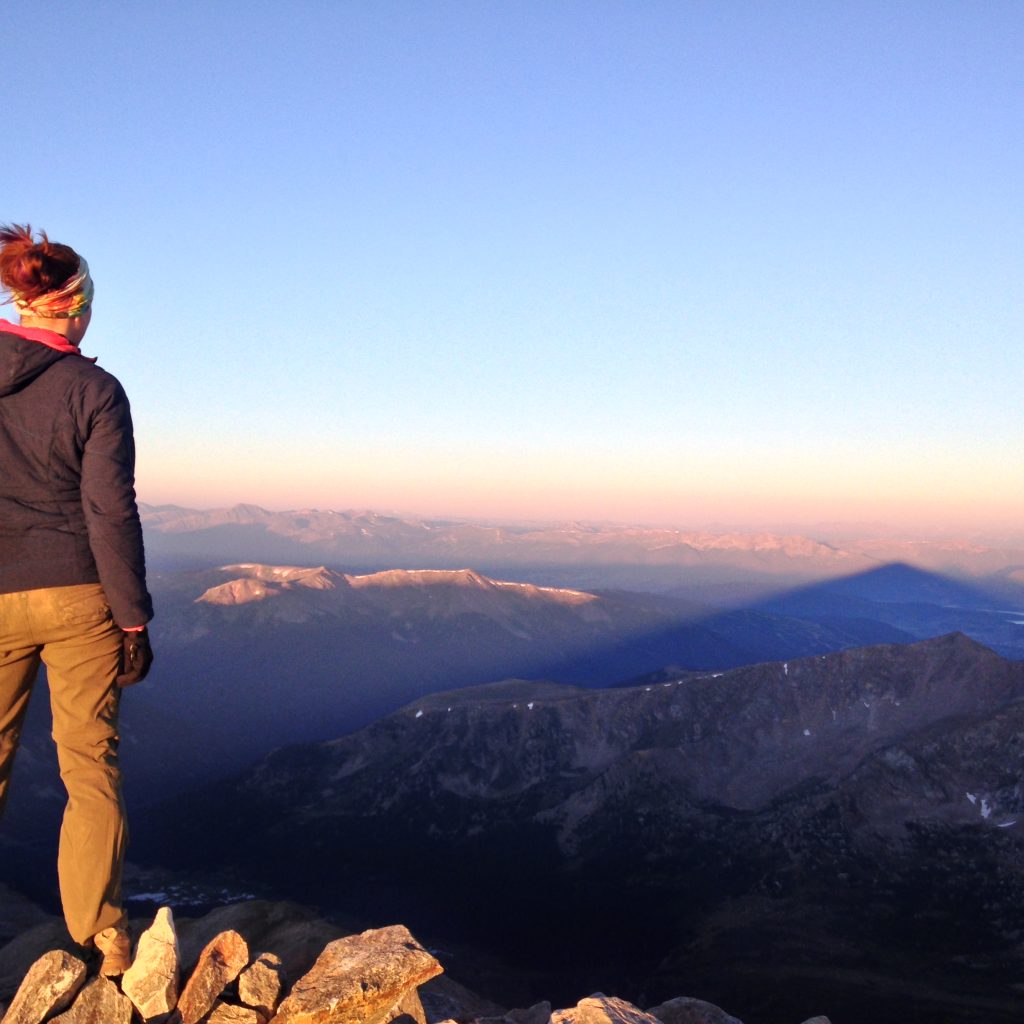
Secondly, beginner Colorado 14ers are some of the most popular trailheads in the country. Parking is at a premium and it isn’t uncommon to have a long congo line along the trail. This can be frustrating if you move at a quicker pace or have to constantly stop and wait for people. Typically I’ll time my hike so that I am on the summit for sunrise. It’s a thrilling feeling to see the shadow of the mountain you are standing on dominating the landscape. So set that early alarm and get up early to enjoy the alpenglow. You can nap when you get home.
4. Take Lots of Breaks on Your 14er Hike
One big mistake new mountaineers make is trying to go for the all-time Strava record. Slow down. Take your time. The air is thin up there and it’s totally normal to go at a slower pace. If you’re struggling physically slow down. Don’t go for the fastest time. The point is to challenge yourself and enjoy yourself. There have been times on the trail when I’ve been so beat tired and I just tell myself “I can’t.” I’ll stop, catch my breath, get going again and find myself in the same place mentally. To break through those moments I slow my pace down. Everyone has their own way of “tuning in.” I count to five one time for each breath and just repeat. Sometimes my feet are at a mere shuffle but I’m still moving forward.
5. Protect Your Phone Batteries
Even in the middle of summer, temperatures regularly dip below freezing on the top of Colorado 14ers. If you’re using your phone for navigation, your batteries will quickly drain. Here are a few quick tips to get the most out of your battery life.
- Keep your phone in your chest pocket or an interior pocket. Your core is your natural oven, so keeping your batteries close to your core will keep them from succumbing to the cold
- Keep your phone in airplane mode with location services turned off. Do both of these things so your phone isn’t searching for satellites or cell towers. You can switch your location services on if you need to check your GPS really quick, but don’t forget to turn it off again.
- Put your phone on low-power mode if you have it.
- Carry a small, portable battery pack.
6. It’s Okay to Turn Around
Every mountaineer has turned around on a peak or two…or ten. In fact, it is super common not to make it to the summit. I can’t count how many times I’ve had to turn around. Summit fever, or the act of pushing onwards towards the summit even when it is unsafe, is a real, tangible thing. Remember: no mountain is worth your life. Take pride in your botched summits, at least you got outside that day!
For more about mental training for mountain climbing, check out these posts
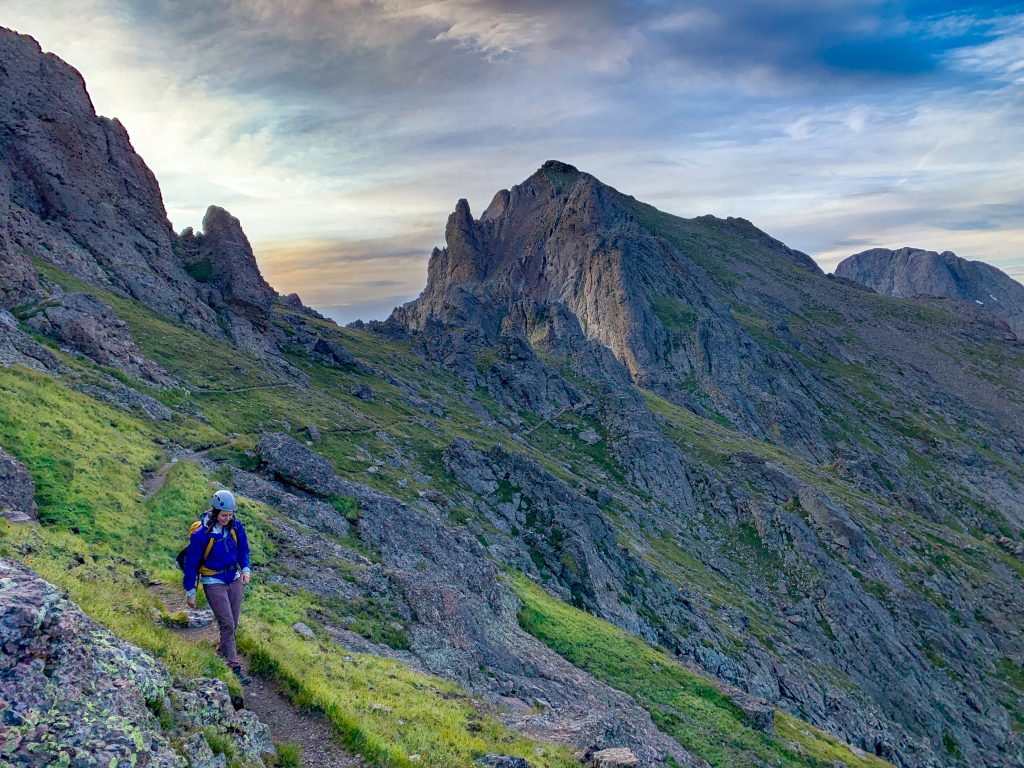
7. Always Look Behind You
Part of climbing a 14er is understanding a few navigation tricks. Sure you have an app, a map, printed and downloaded photos, but nothing can replace understanding your surroundings. When you’re in the middle of the uphill grind, it’s easy to get caught up in forward momentum. But don’t forget to stop and take note of what is behind you! This will help you navigate the descent. Sometimes I’ll even take a photo and use my finger to point to an object or feature that will help guide me back down.
8. Set Small Goals and Listen to Your Body
Hiking a beginner 14er is essentially one grueling activity. It can get tough to keep going when your legs are tired and you are out of breath. One trick to push through the grind is to set small goals for yourself.
When it gets extremely tough or I feel like giving up I will find something, maybe a trail marker or a strange-looking rock 20-100 feet in front of me and I say to myself “I will walk to that rock.” Suddenly, I’m at that rock and I will pick another. Before you know it you’ve made progress. As with anything in life start small and big things happen.
9. Getting to the Top is Half the Battle
A lot of folks fear the steep gains and tough uphills, but the downhill is arguably harder. In fact, most accidents in mountaineering happen on the way down.
You are tired, your body is fatigued, you’ve reached your perceived goal, and you’re no longer fighting gravity. However, a misstep on the downhill can cause a painfully twisted ankle or worse. Many people slip and fall, get lost, or put too much wear and tear on their bodies during the descent. Listen to your body and remember, if you’re too exhausted to continue or you are thinking about pushing through something such as a minor injury, you still have to get back down the mountain.
Save energy, focus, and concertation for the downhill. Whenever I reach the summit I congratulate myself for making it halfway. Keep your mental game sharp and take care to hike with the same intention downhill as you did uphill.
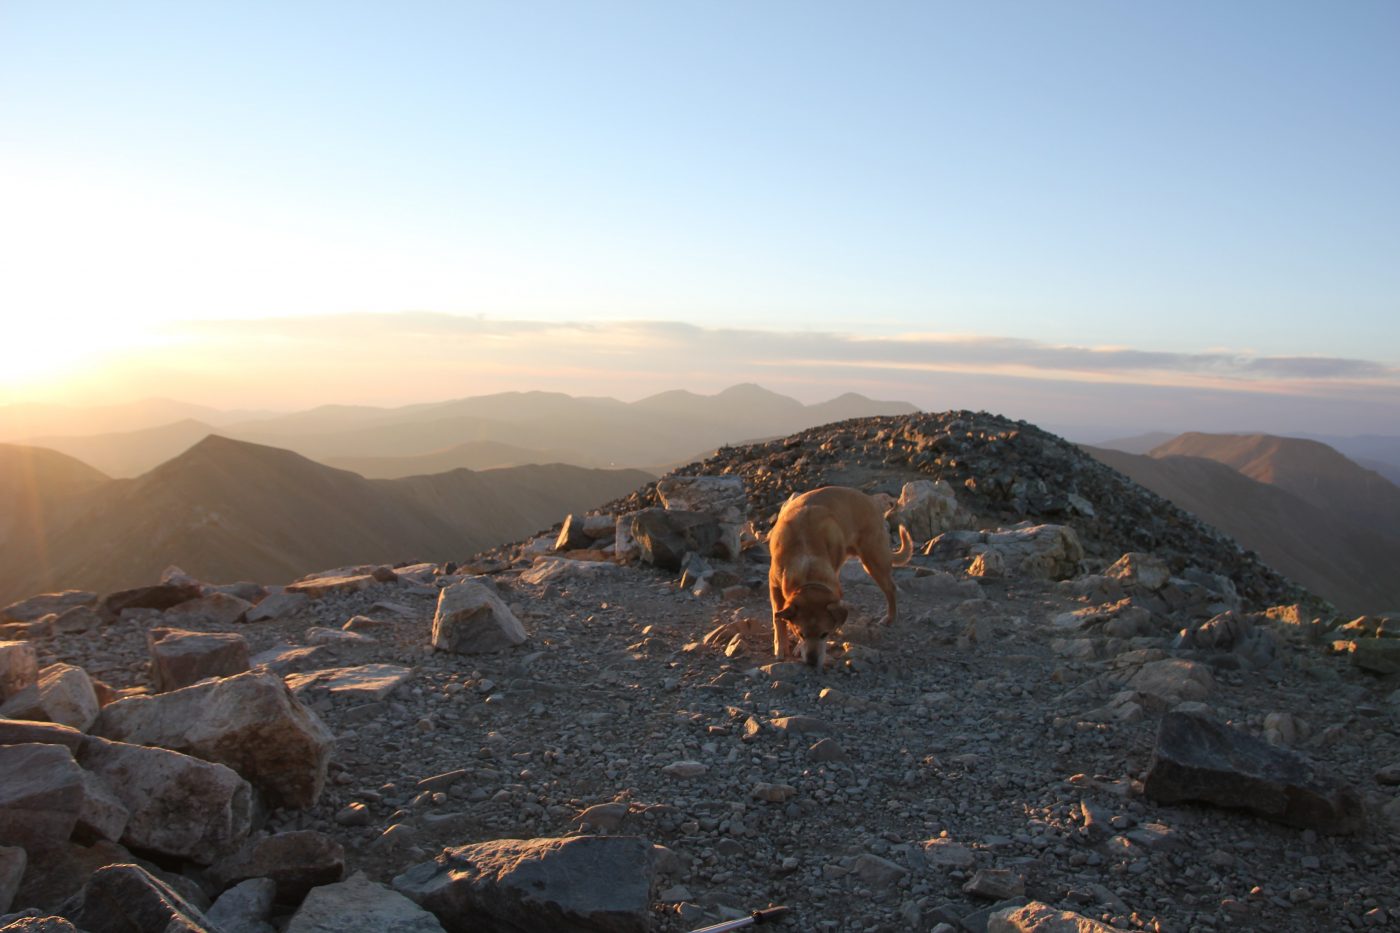
Pro Tip: Dog-Friendly Colorado 14ers
Bringing your dog on a Colorado 14er is a personal choice. Nina, my 12-year-old adventure mutt has summited a few mountains. However, Class 3 terrain is no place for an animal. People have abandoned their dogs in sketchy situations on Colorado 14ers and it is always a sad story.
The rocky terrain can be particularly rough on their paws, so be sure to have paw protection. Also, many of these trails are quite crowded, and you’ll need to keep your pet on a leash. Depending on the route, this can be dangerous for both you and your dog. Keep this in mind when deciding if taking Fido on your 14er hike is right for you.
Now you’re armed and ready to hike your first 14er. Colorado 14ers are a state icon, and hiking a 14er is an incredible experience. Be prepared for a 14er and enjoy the challenge!
Love to Hike in Colorado? Check out these amazing local resources:
- The Most Beautiful 14ers in Colorado
- Amazing Mountains Near Denver You Have to Hike
- 29 Jaw-Dropping Alpine Lake Hikes in Colorado
- Bucket List Hikes in Colorado